SharePoint sites
EasyLife 365 distinguishes between managed and unmanaged Communication sites or SharePoint Team sites. By default, all SharePoint sites are unmanaged and are not processed by EasyLife until they are converted to managed sites by EasyLife. A managed site is characterized by an associated Security Group, which replaces the site collection administrators and assigns them as members and owners of the Security Group.
Overview and Filtering
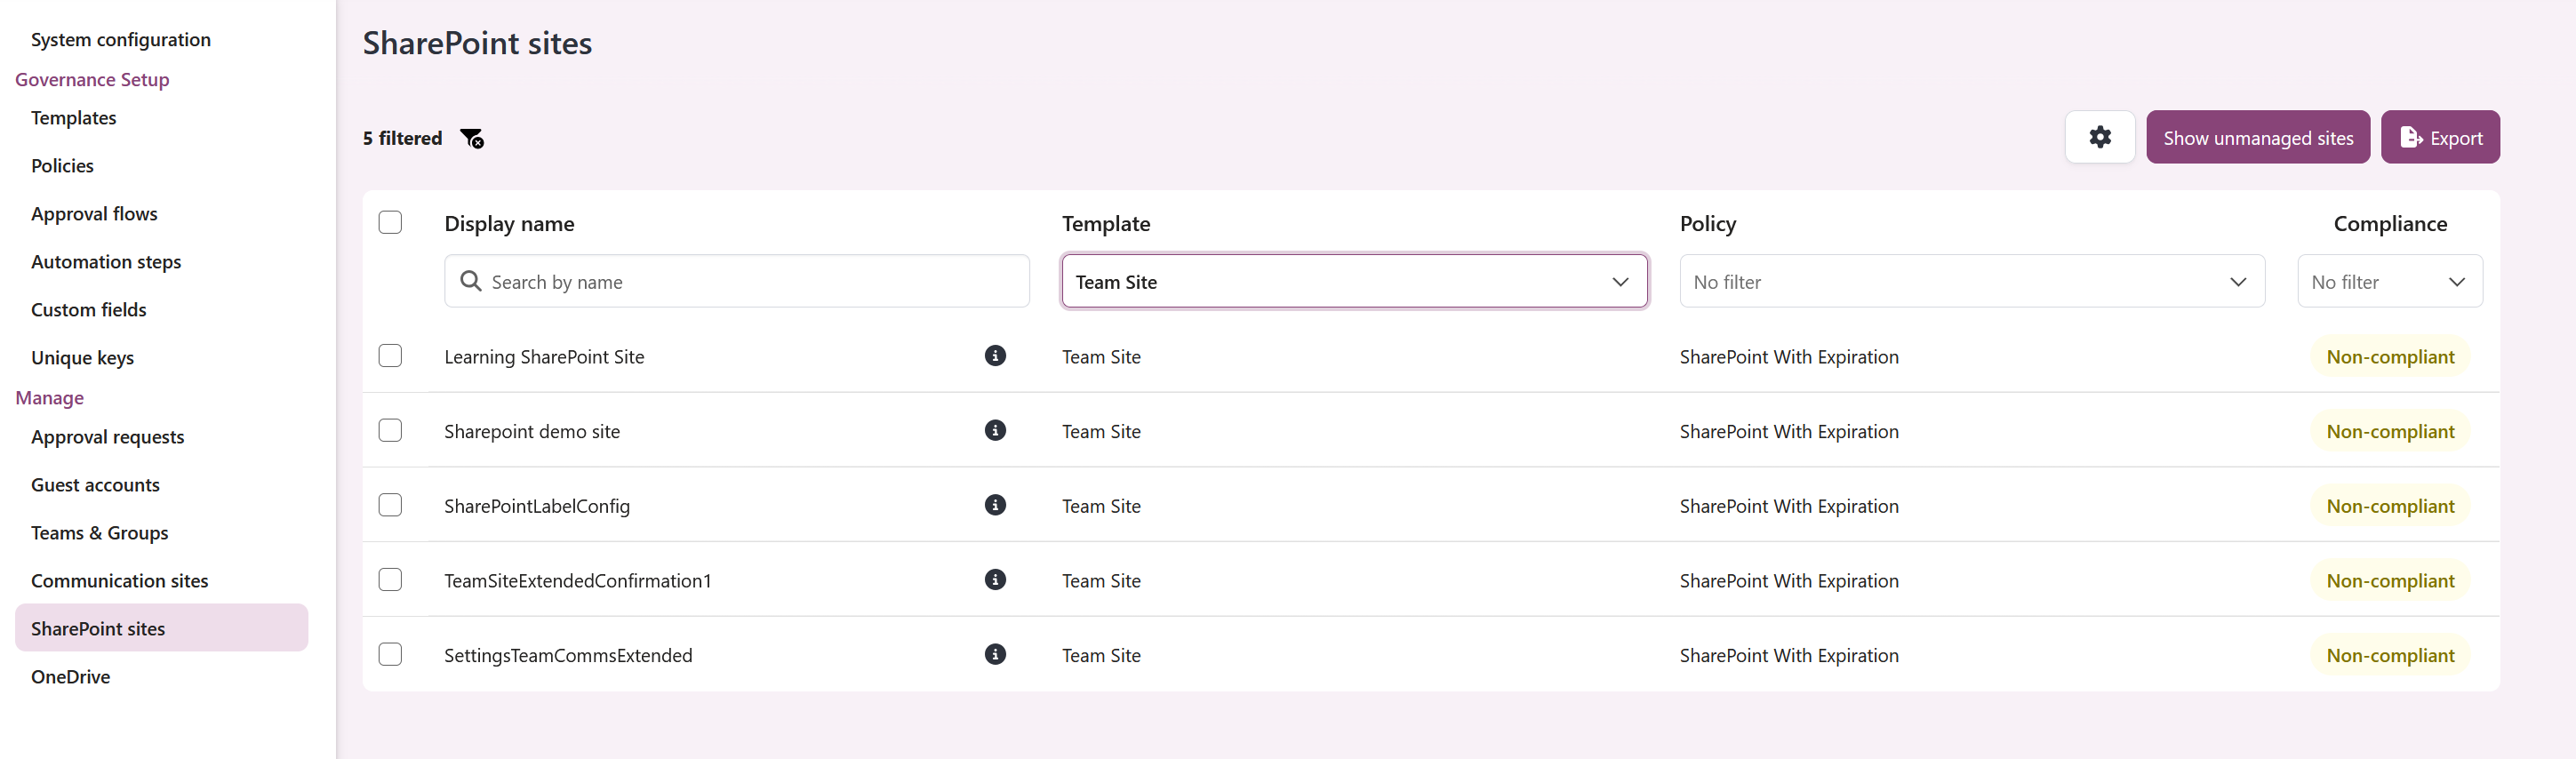
To view active managed SharePoint sites, In the Manage section of EasyLife 365 Admin, click on either Communication sites or SharePoint sites. You will see a list of all resources in your tenant, including their assigned templates and policies. Utilize filters to narrow down your search by resource name, assigned template, policy, or compliance status.
You can also utilize Advanced filters in the overview pages, providing a centralized directory experience. This allows you to narrow down resources based on configured managed properties (dropdown metadata fields). You can configure these filters for granular control with the following options:
- Show in app: Makes the filter visible to end users in the EasyLife 365 Collaboration App.
- Pin to toolbar: Pins the filter directly to the top toolbar for quick access, rather than keeping it inside the advanced filters panel.
- Show in admin: Makes the filter available to administrators in the Cockpit Manage views.
We add some metadata fields to the advanced filters for SharePoint sites, which can be used to filter sites based on their value.
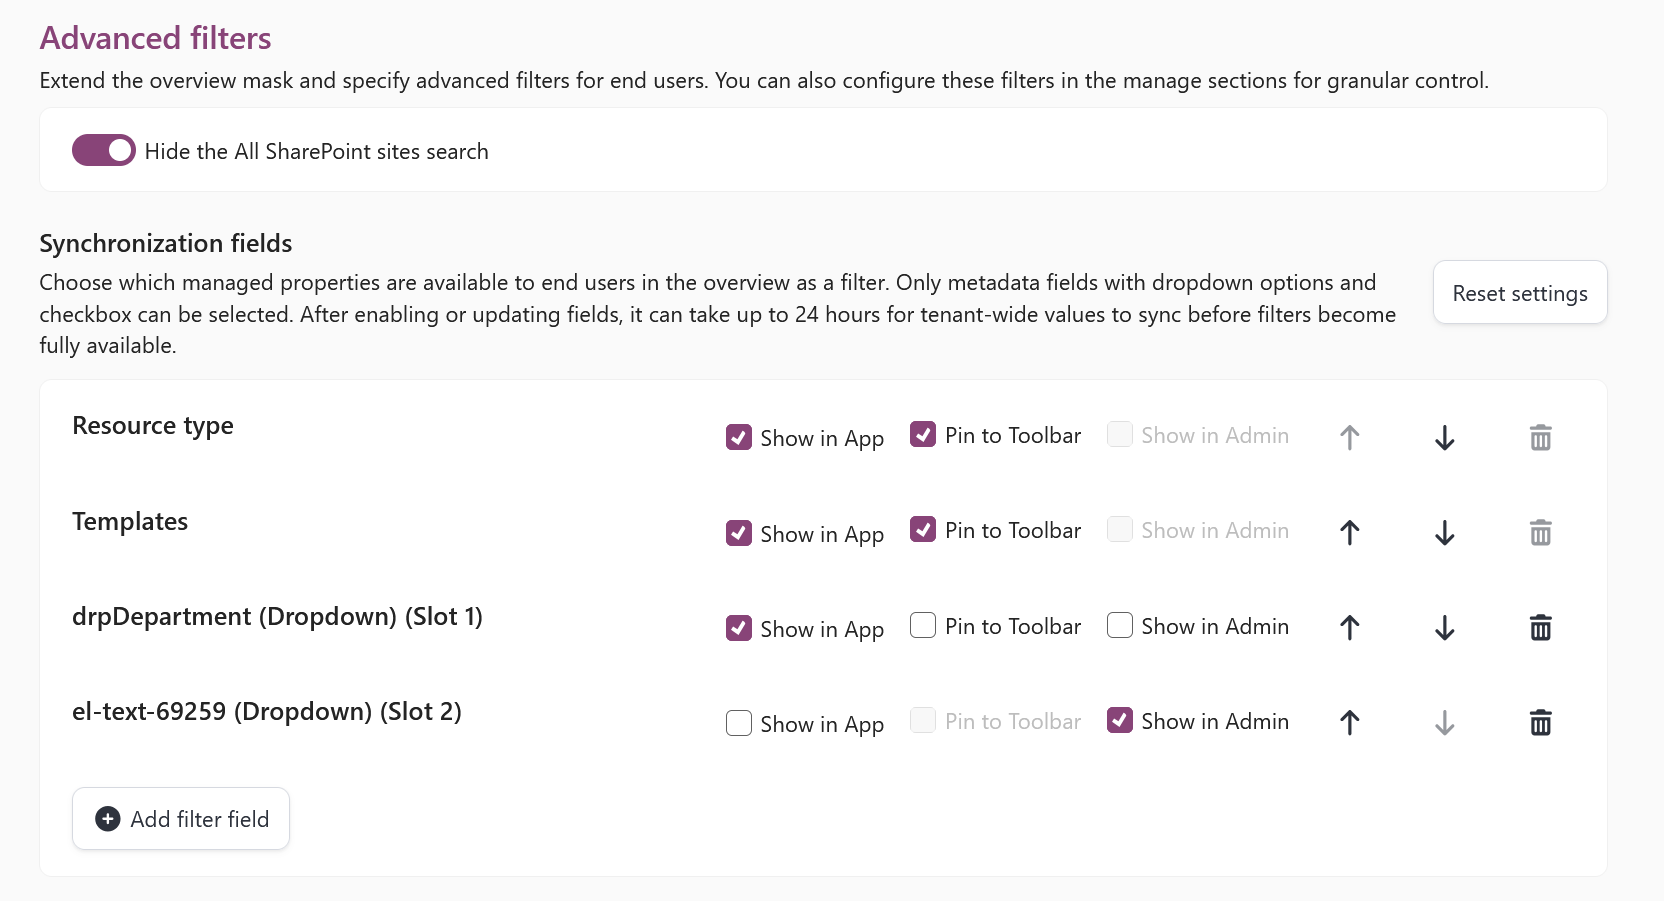
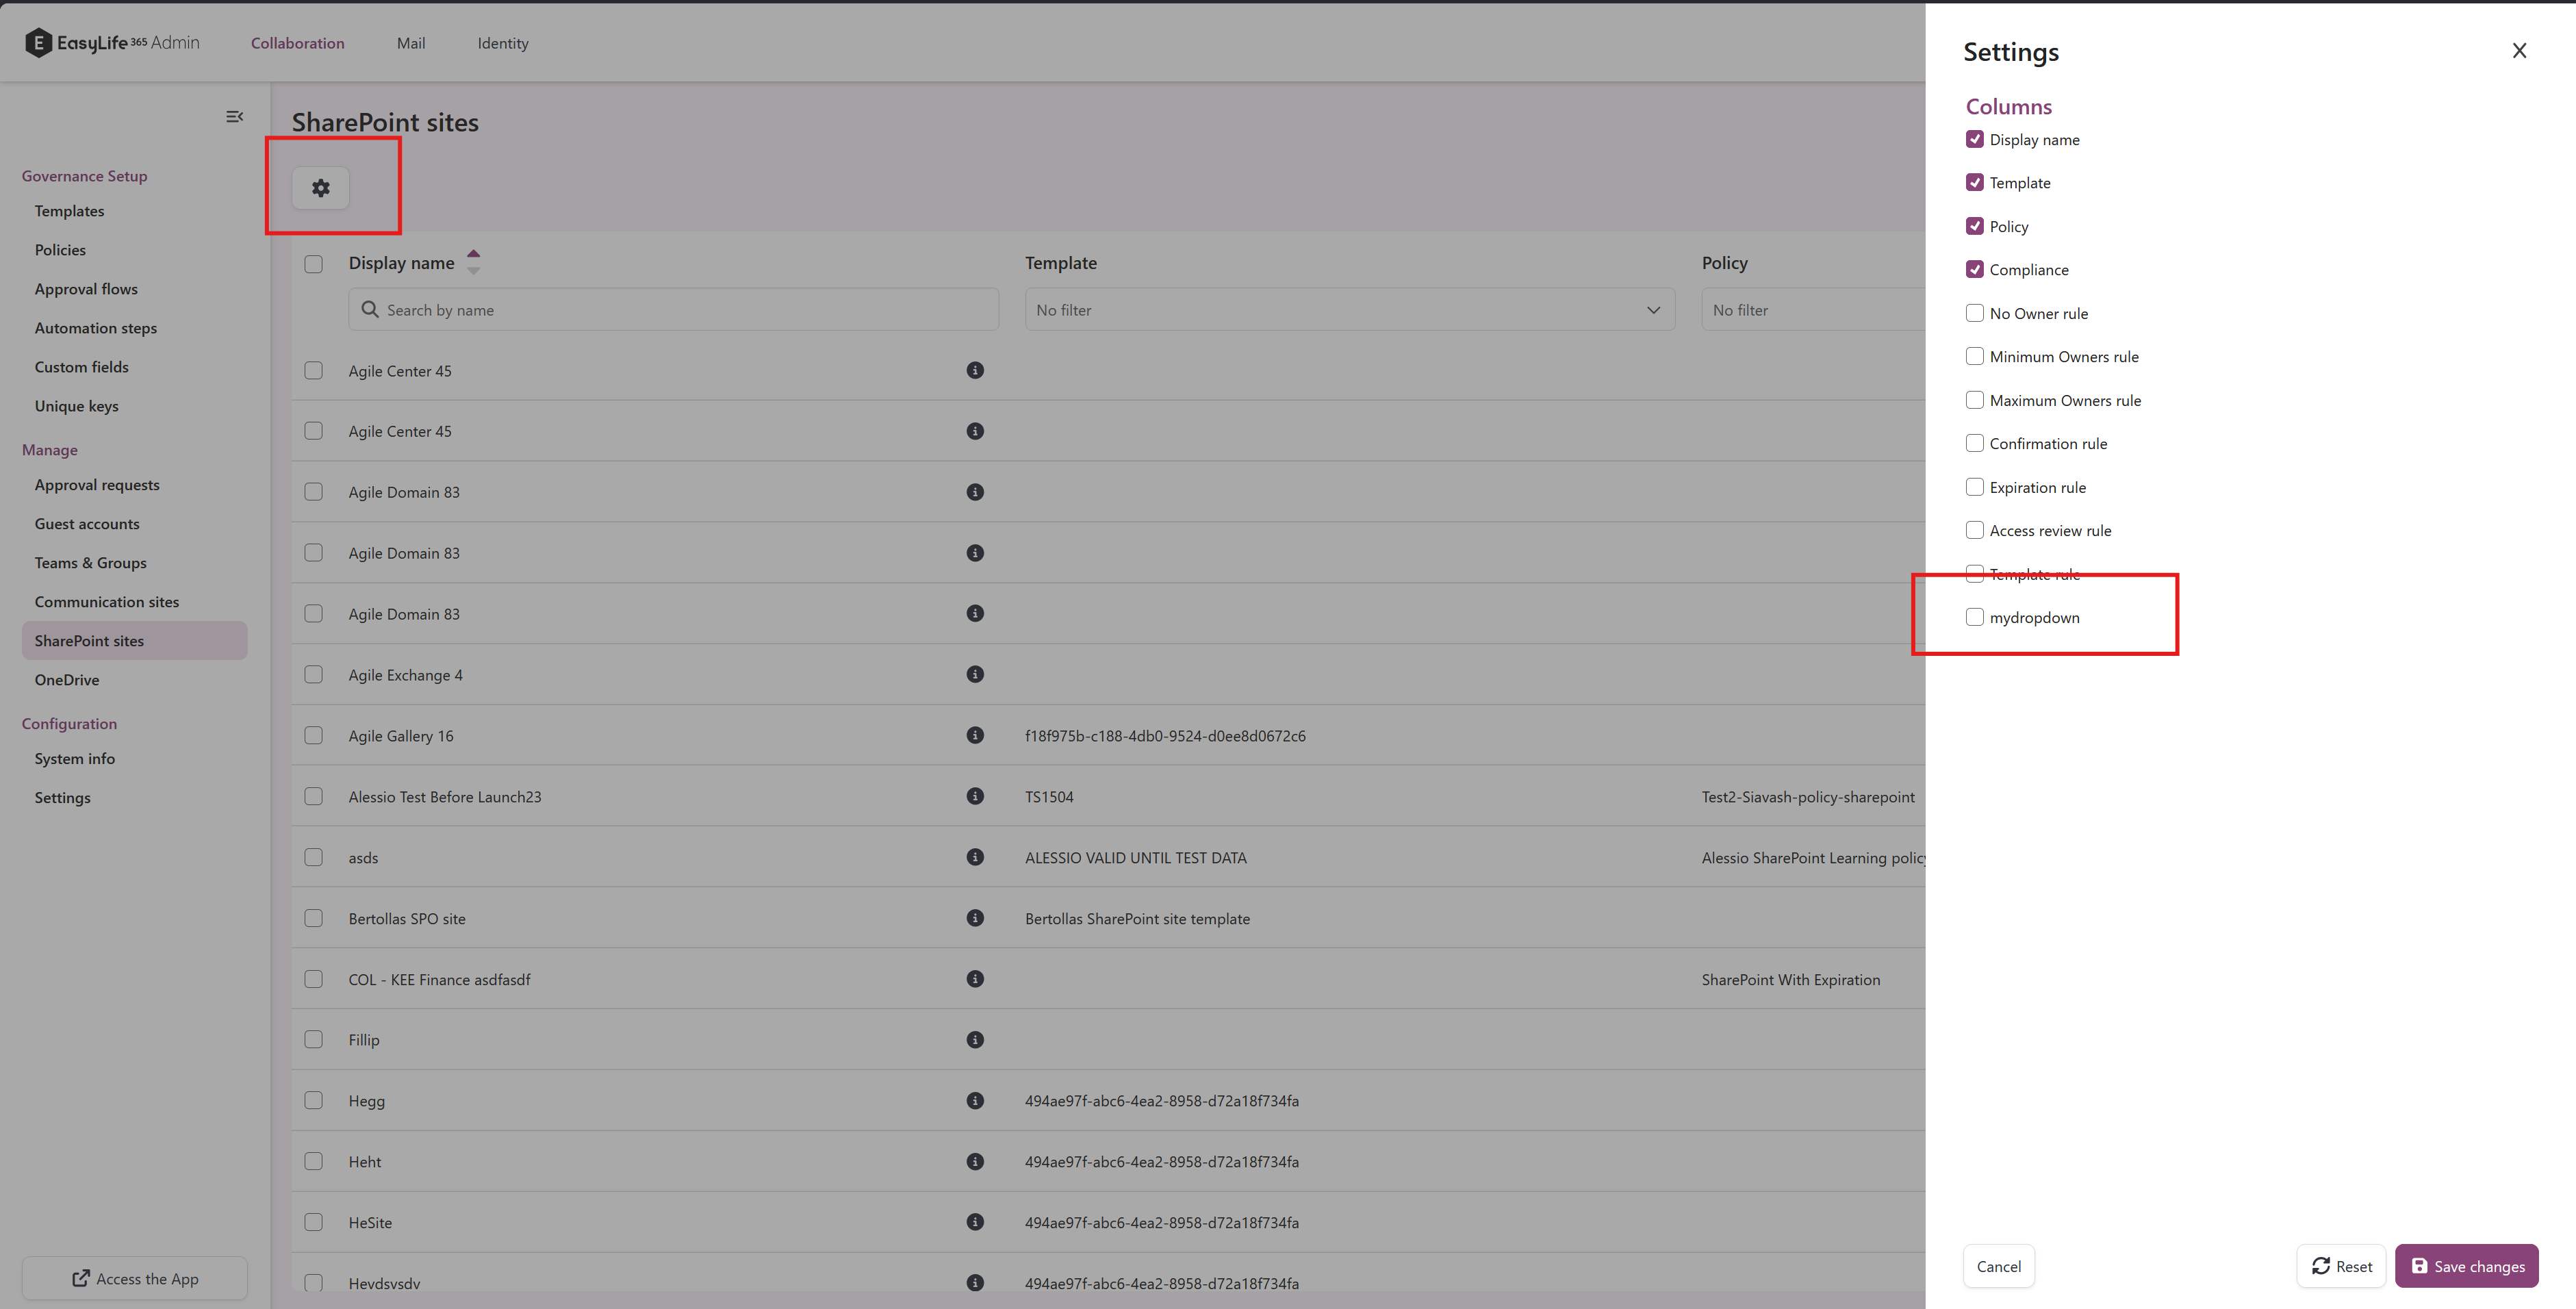
In admin we will have the same filters in the side panel but with the option to pin them to the toolbar for easier access:
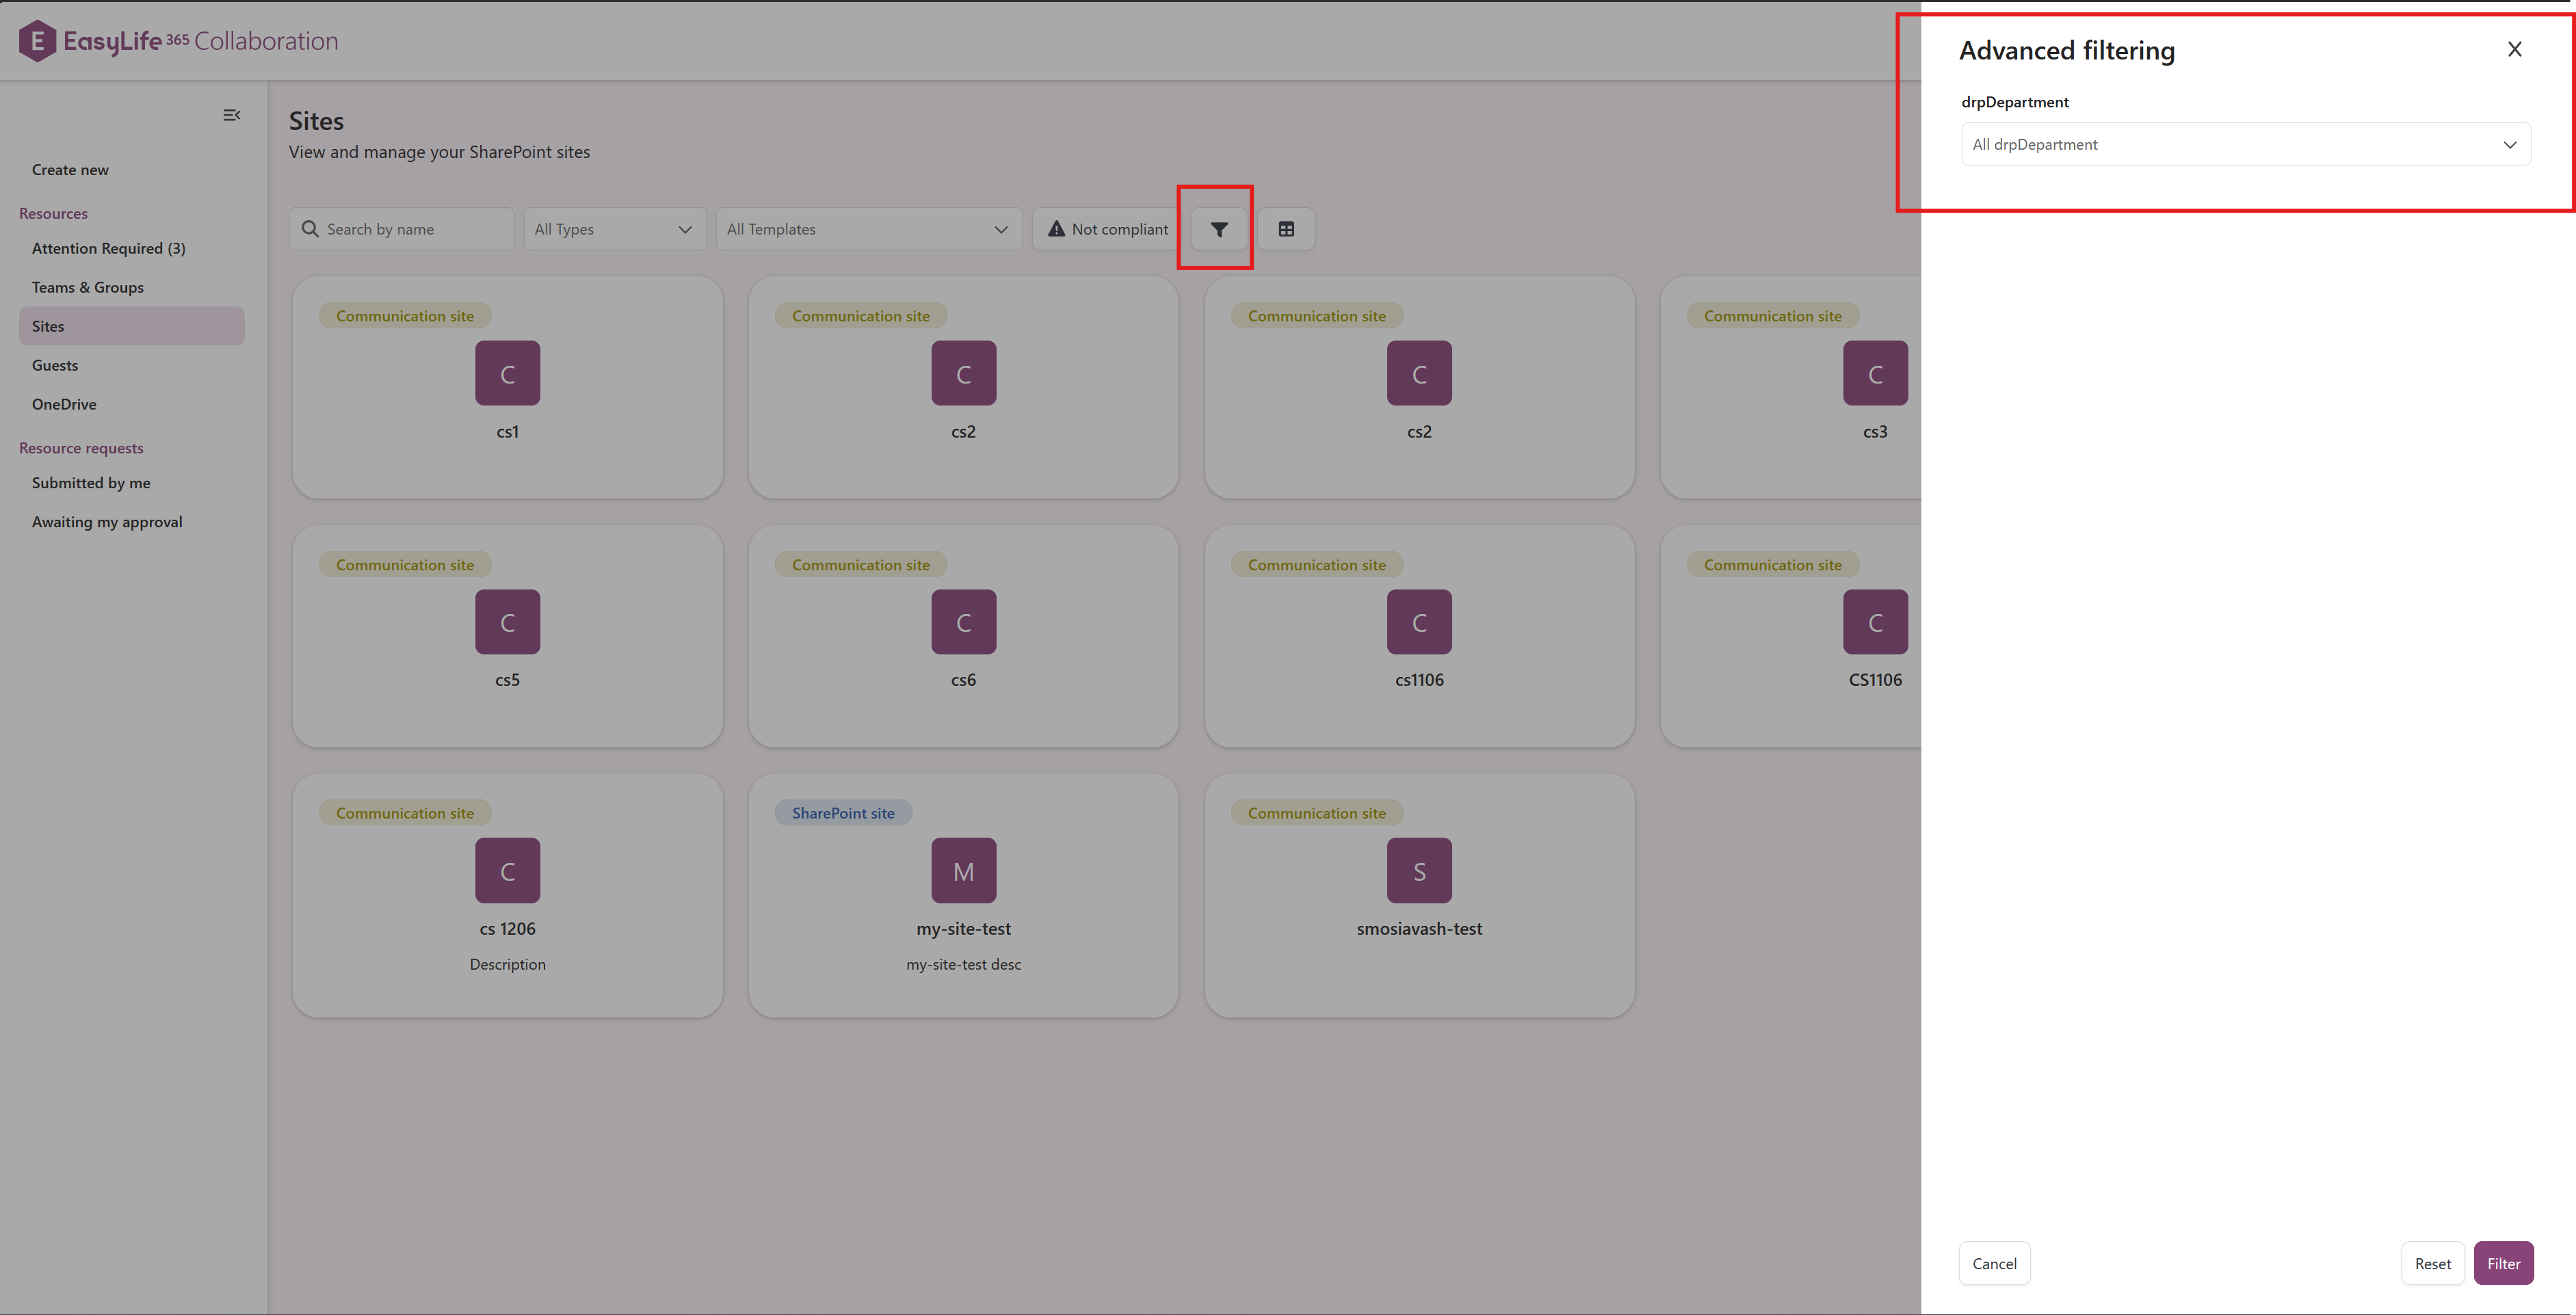
And in the app we will have the same filters in the side panel again with the option to pin them to the toolbar for easier access:
The overview displays only resources already managed through a template. To view non-managed sites, such as those created before EasyLife was introduced, click on Show unmanaged sites to manually associate a template and policy. To discontinue managing a specific SharePoint site through EasyLife, you can unlink it from the overview.
Overview - Show/Hide Columns
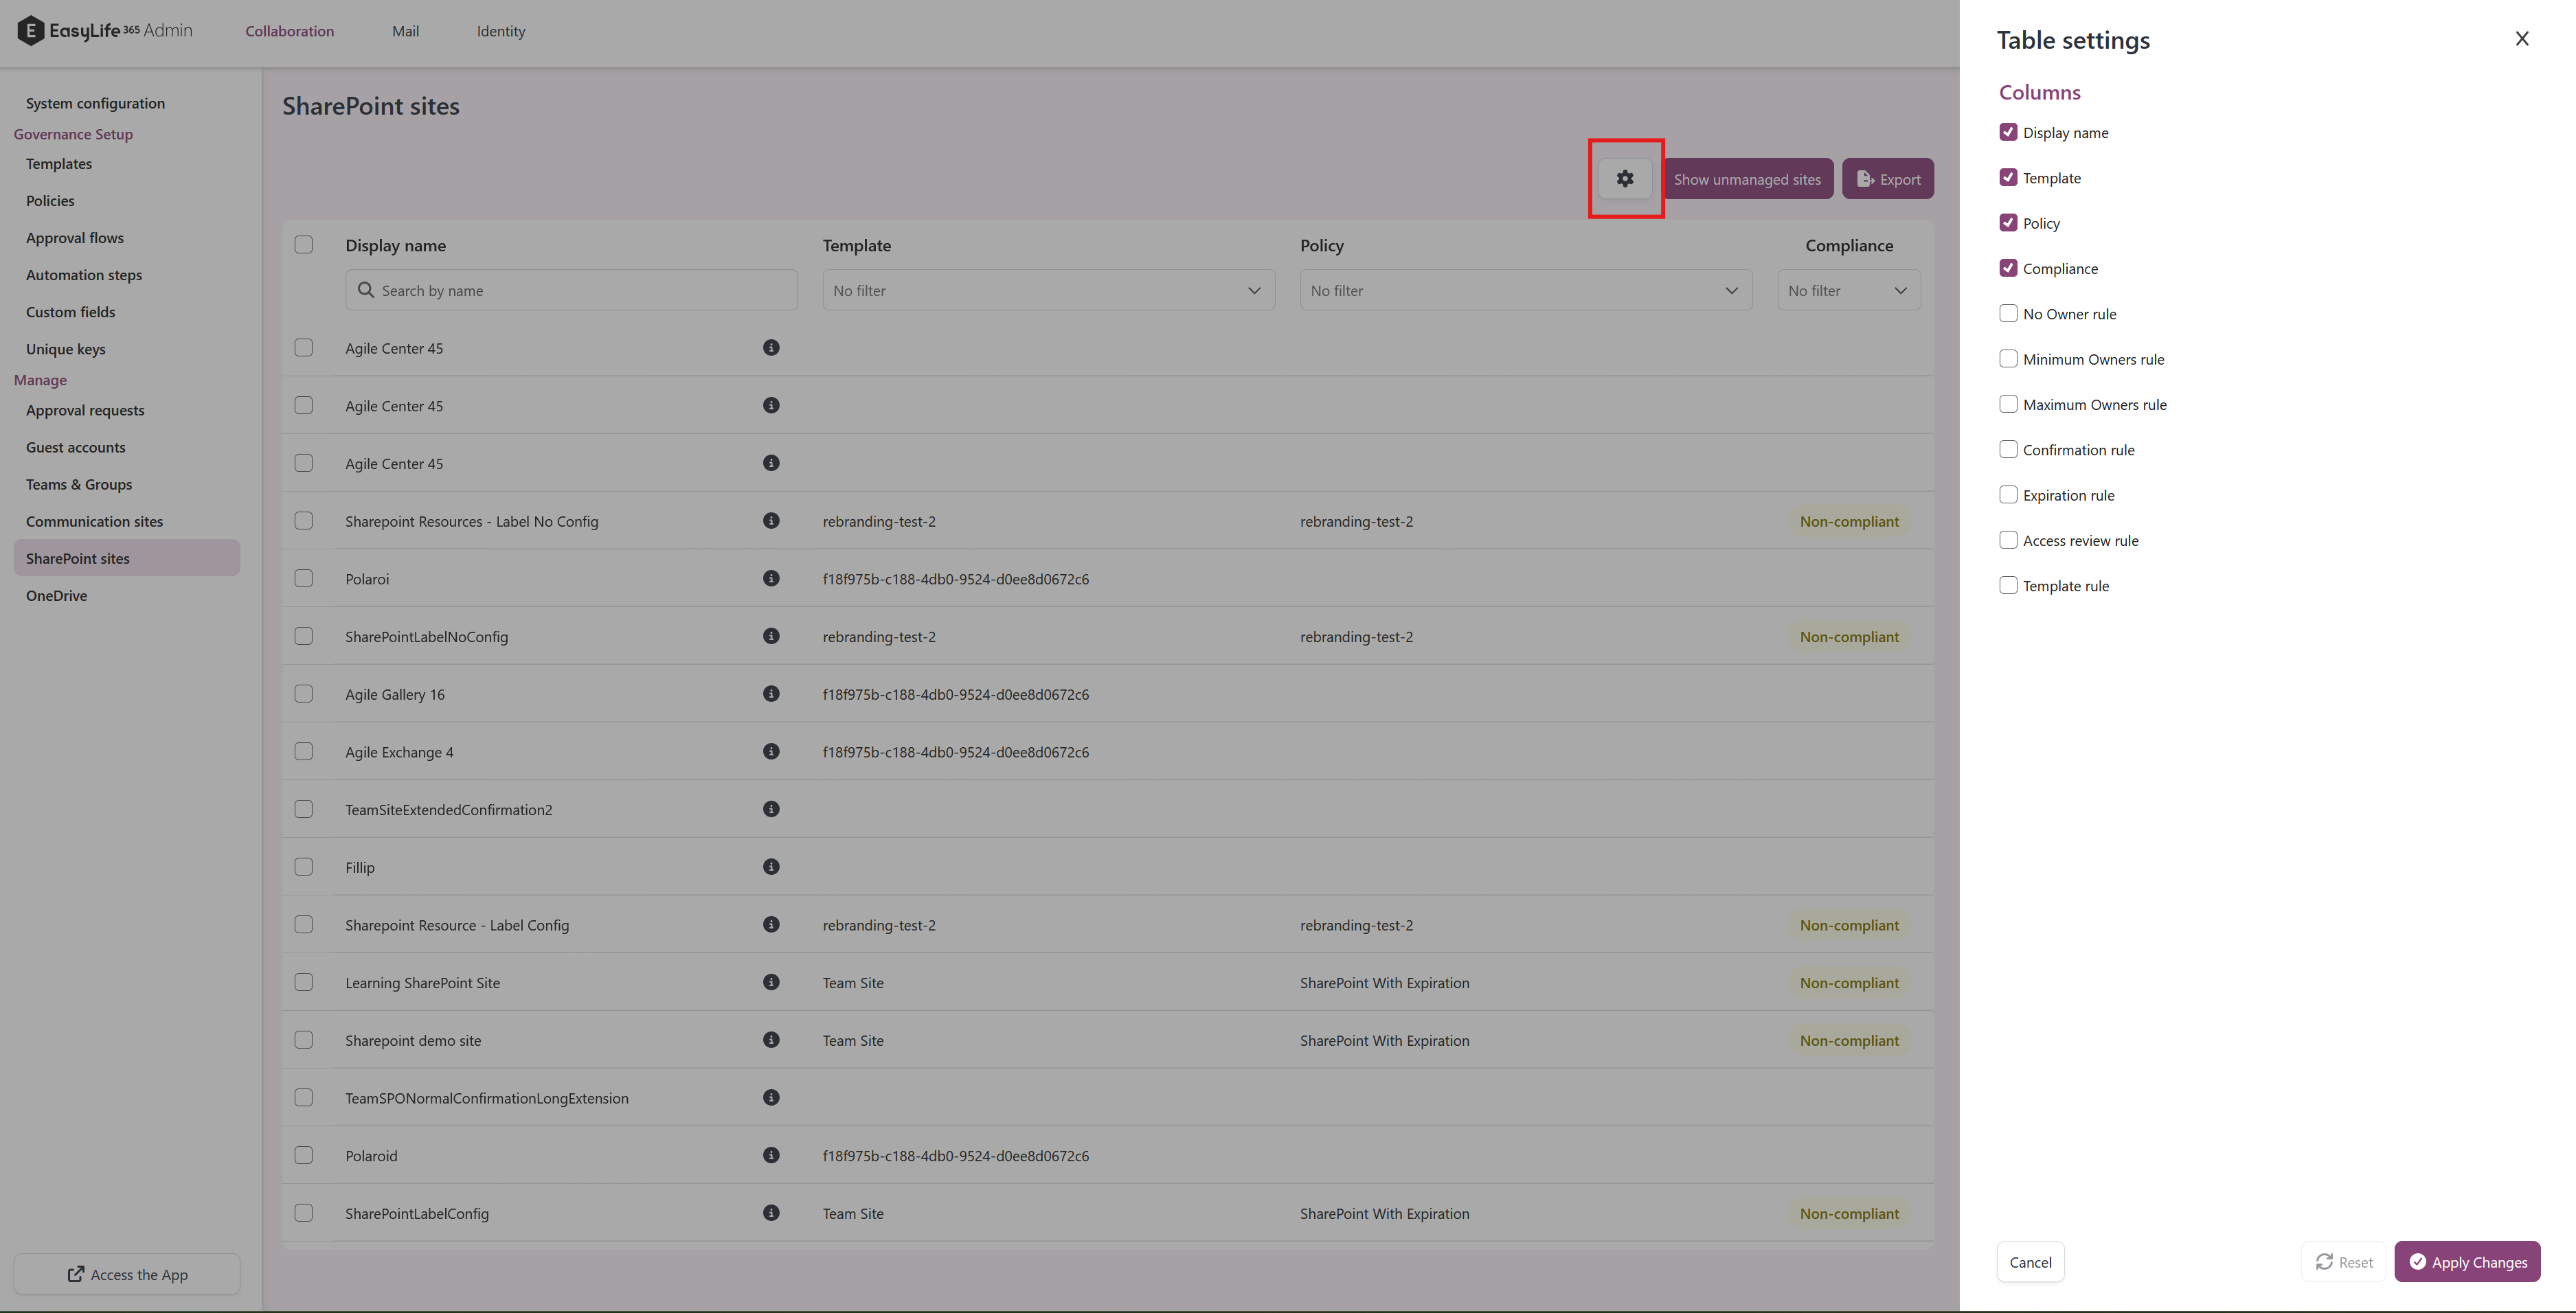
The overview table allows you to customize the displayed columns. To show or hide specific columns, click on the column chooser icon located at the top right corner of the table. This will open a panel where you can select or deselect columns based on your preferences.
Archive column
When Settings → SharePoint sites → Archive settings uses the Microsoft 365 Archive connector, the overview gains an Archive column.
The column shows a Site archived badge only for a site that is recorded as archived. Active sites, and sites whose state EasyLife has not recorded yet, leave the cell blank — a blank cell means "not established", not "active".
With No connector configured, nothing about a standalone site is archivable, so the column is not shown and the table looks exactly as it always has.
Archiving from the overview
Select one or more sites to reveal the archive action in the toolbar. The button names the direction it will take, and the panel opens on that direction.
| Selection | Button |
|---|---|
| One site, recorded as active | Archive site |
| One site, recorded as archived | Reactivate site |
| One site whose state is not recorded | Change archive state |
| Several sites | Change archive state |
Change archive state is a neutral action: you choose the direction inside the panel, per site.
If a tenant prerequisite for Microsoft 365 Archive is missing, the panel states it once for the whole selection instead of repeating it as a failure on every site. See Prepare your tenant for Microsoft 365 Archive.
Archiving moves the site's content into cold storage. It becomes unavailable to members until the site is reactivated. Archiving runs in the background and can take a long time to finish; the list keeps showing the previous state until it completes. Sites archived more than seven days ago can take up to 24 hours to reactivate.
Compliance panel
The Details panel lists only the rules that are actually being evaluated on that site. See Compliance panels for what is shown and why.
Bulk Editing
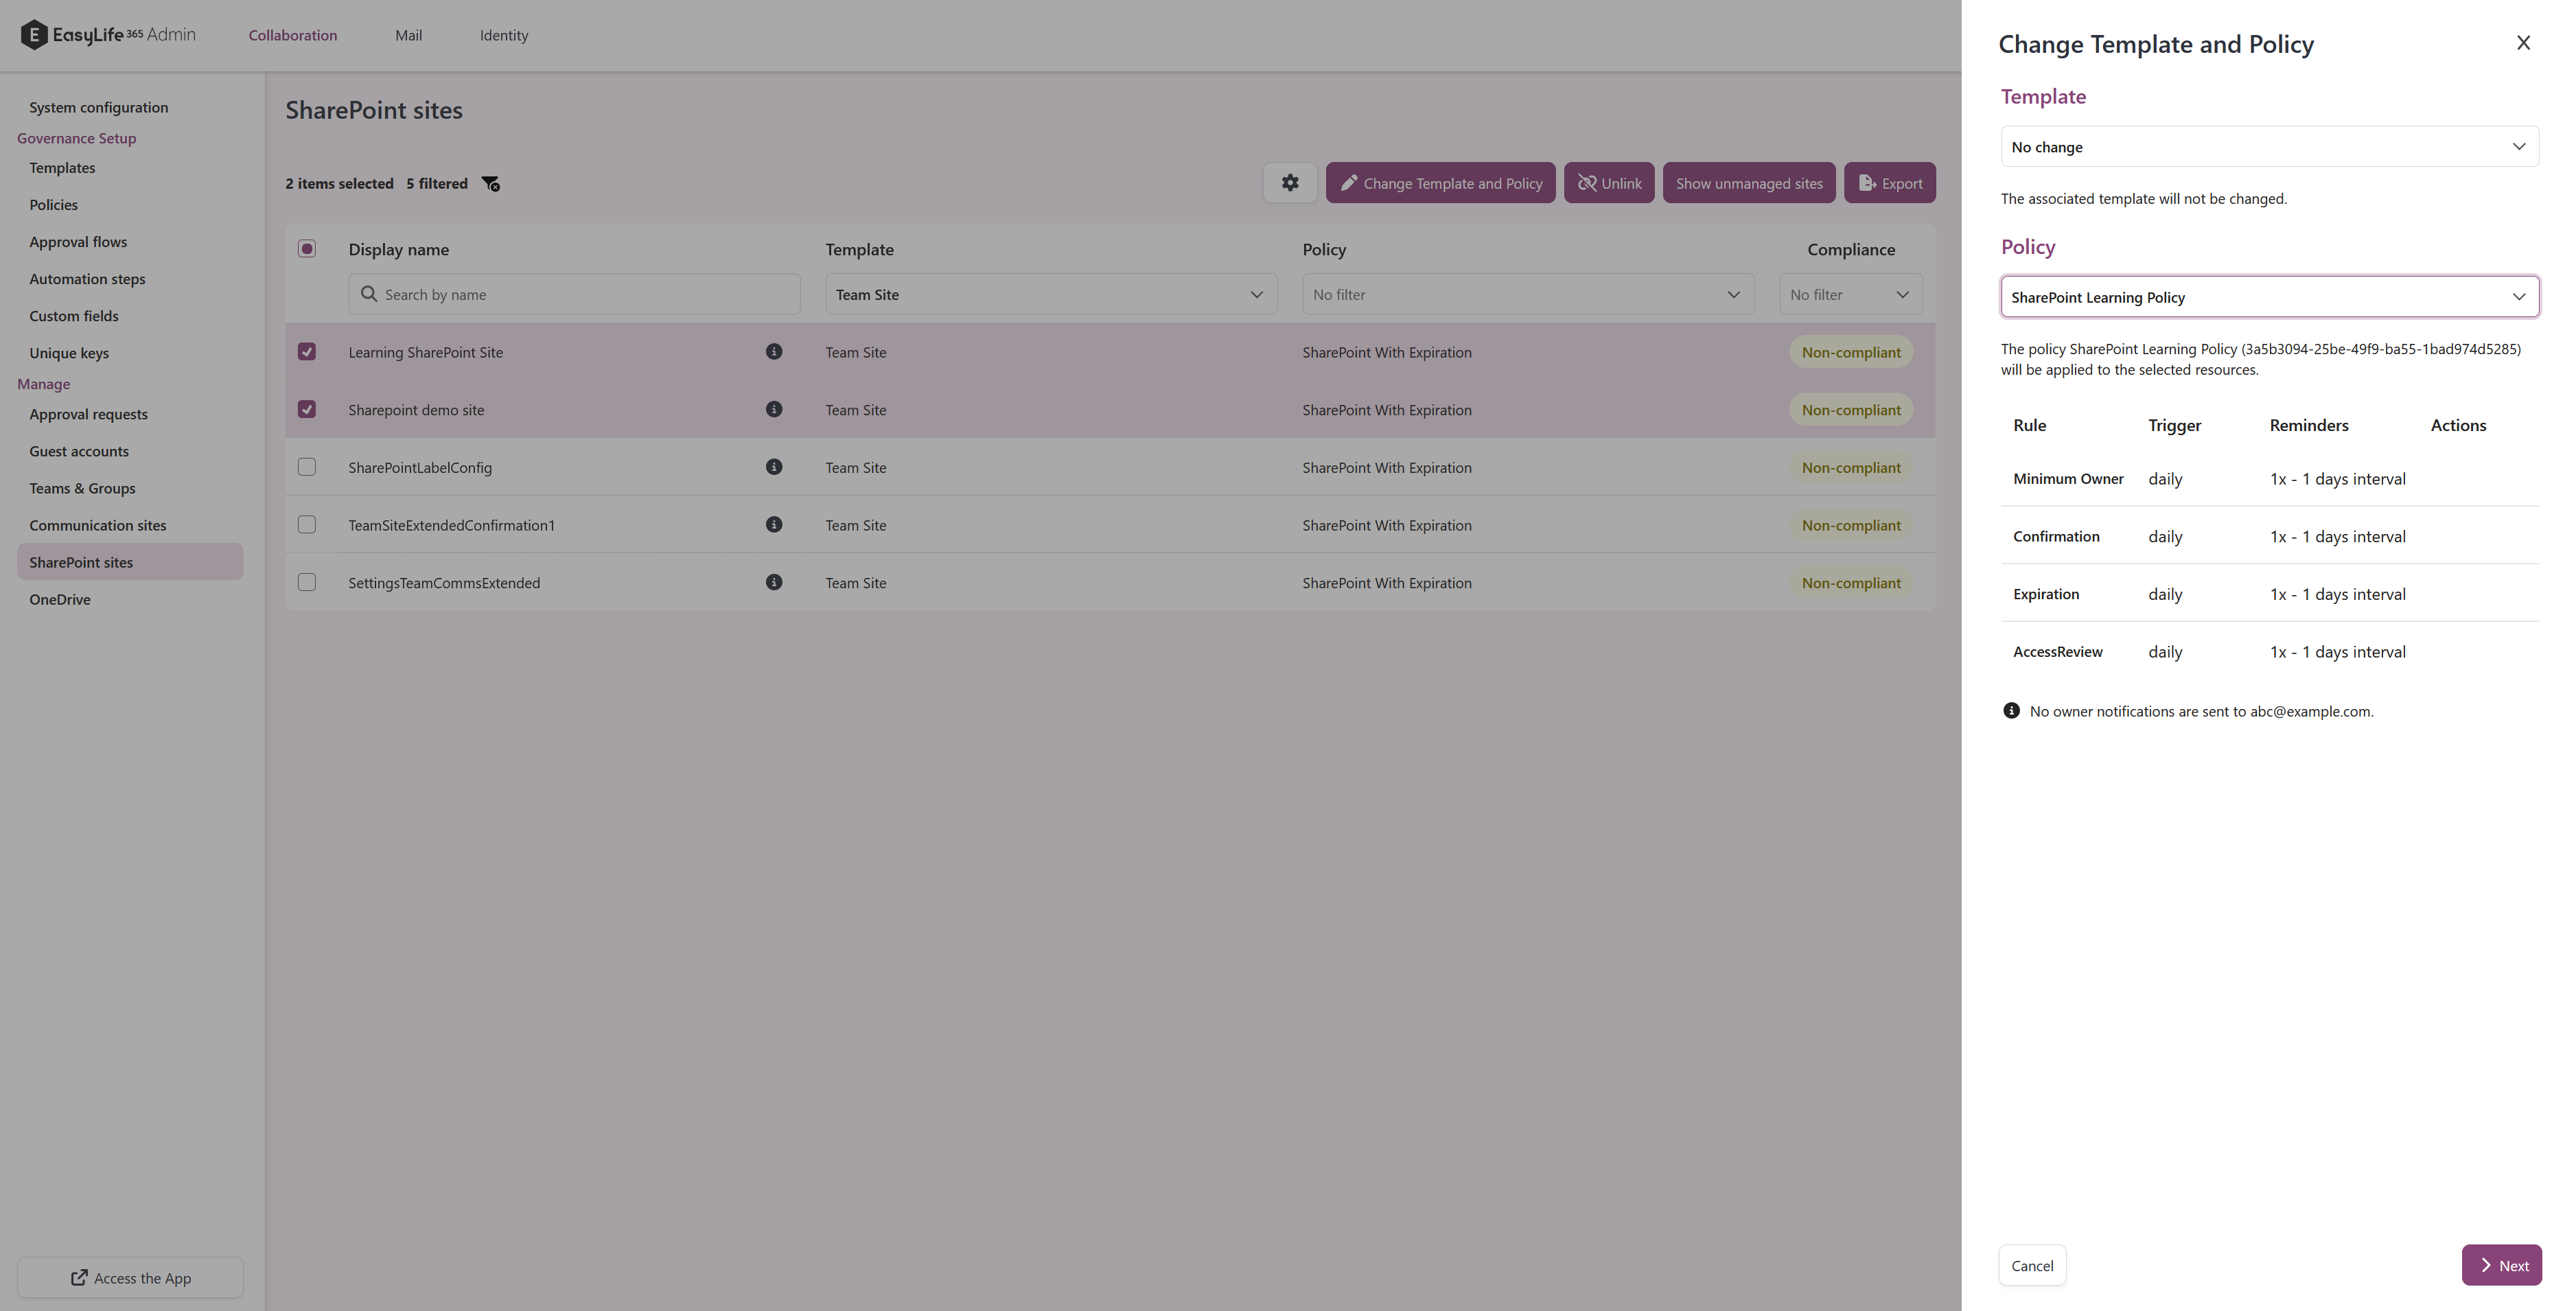
To assign a new template/policy to multiple resources, select them by checking the boxes next to their names. Then click the Change Template and Policy button above the list.
Select the desired template and policy, and proceed to the next step. A summary of the policy will be provided to ensure accurate application.
Review the pending changes and click Apply changes to implement them.
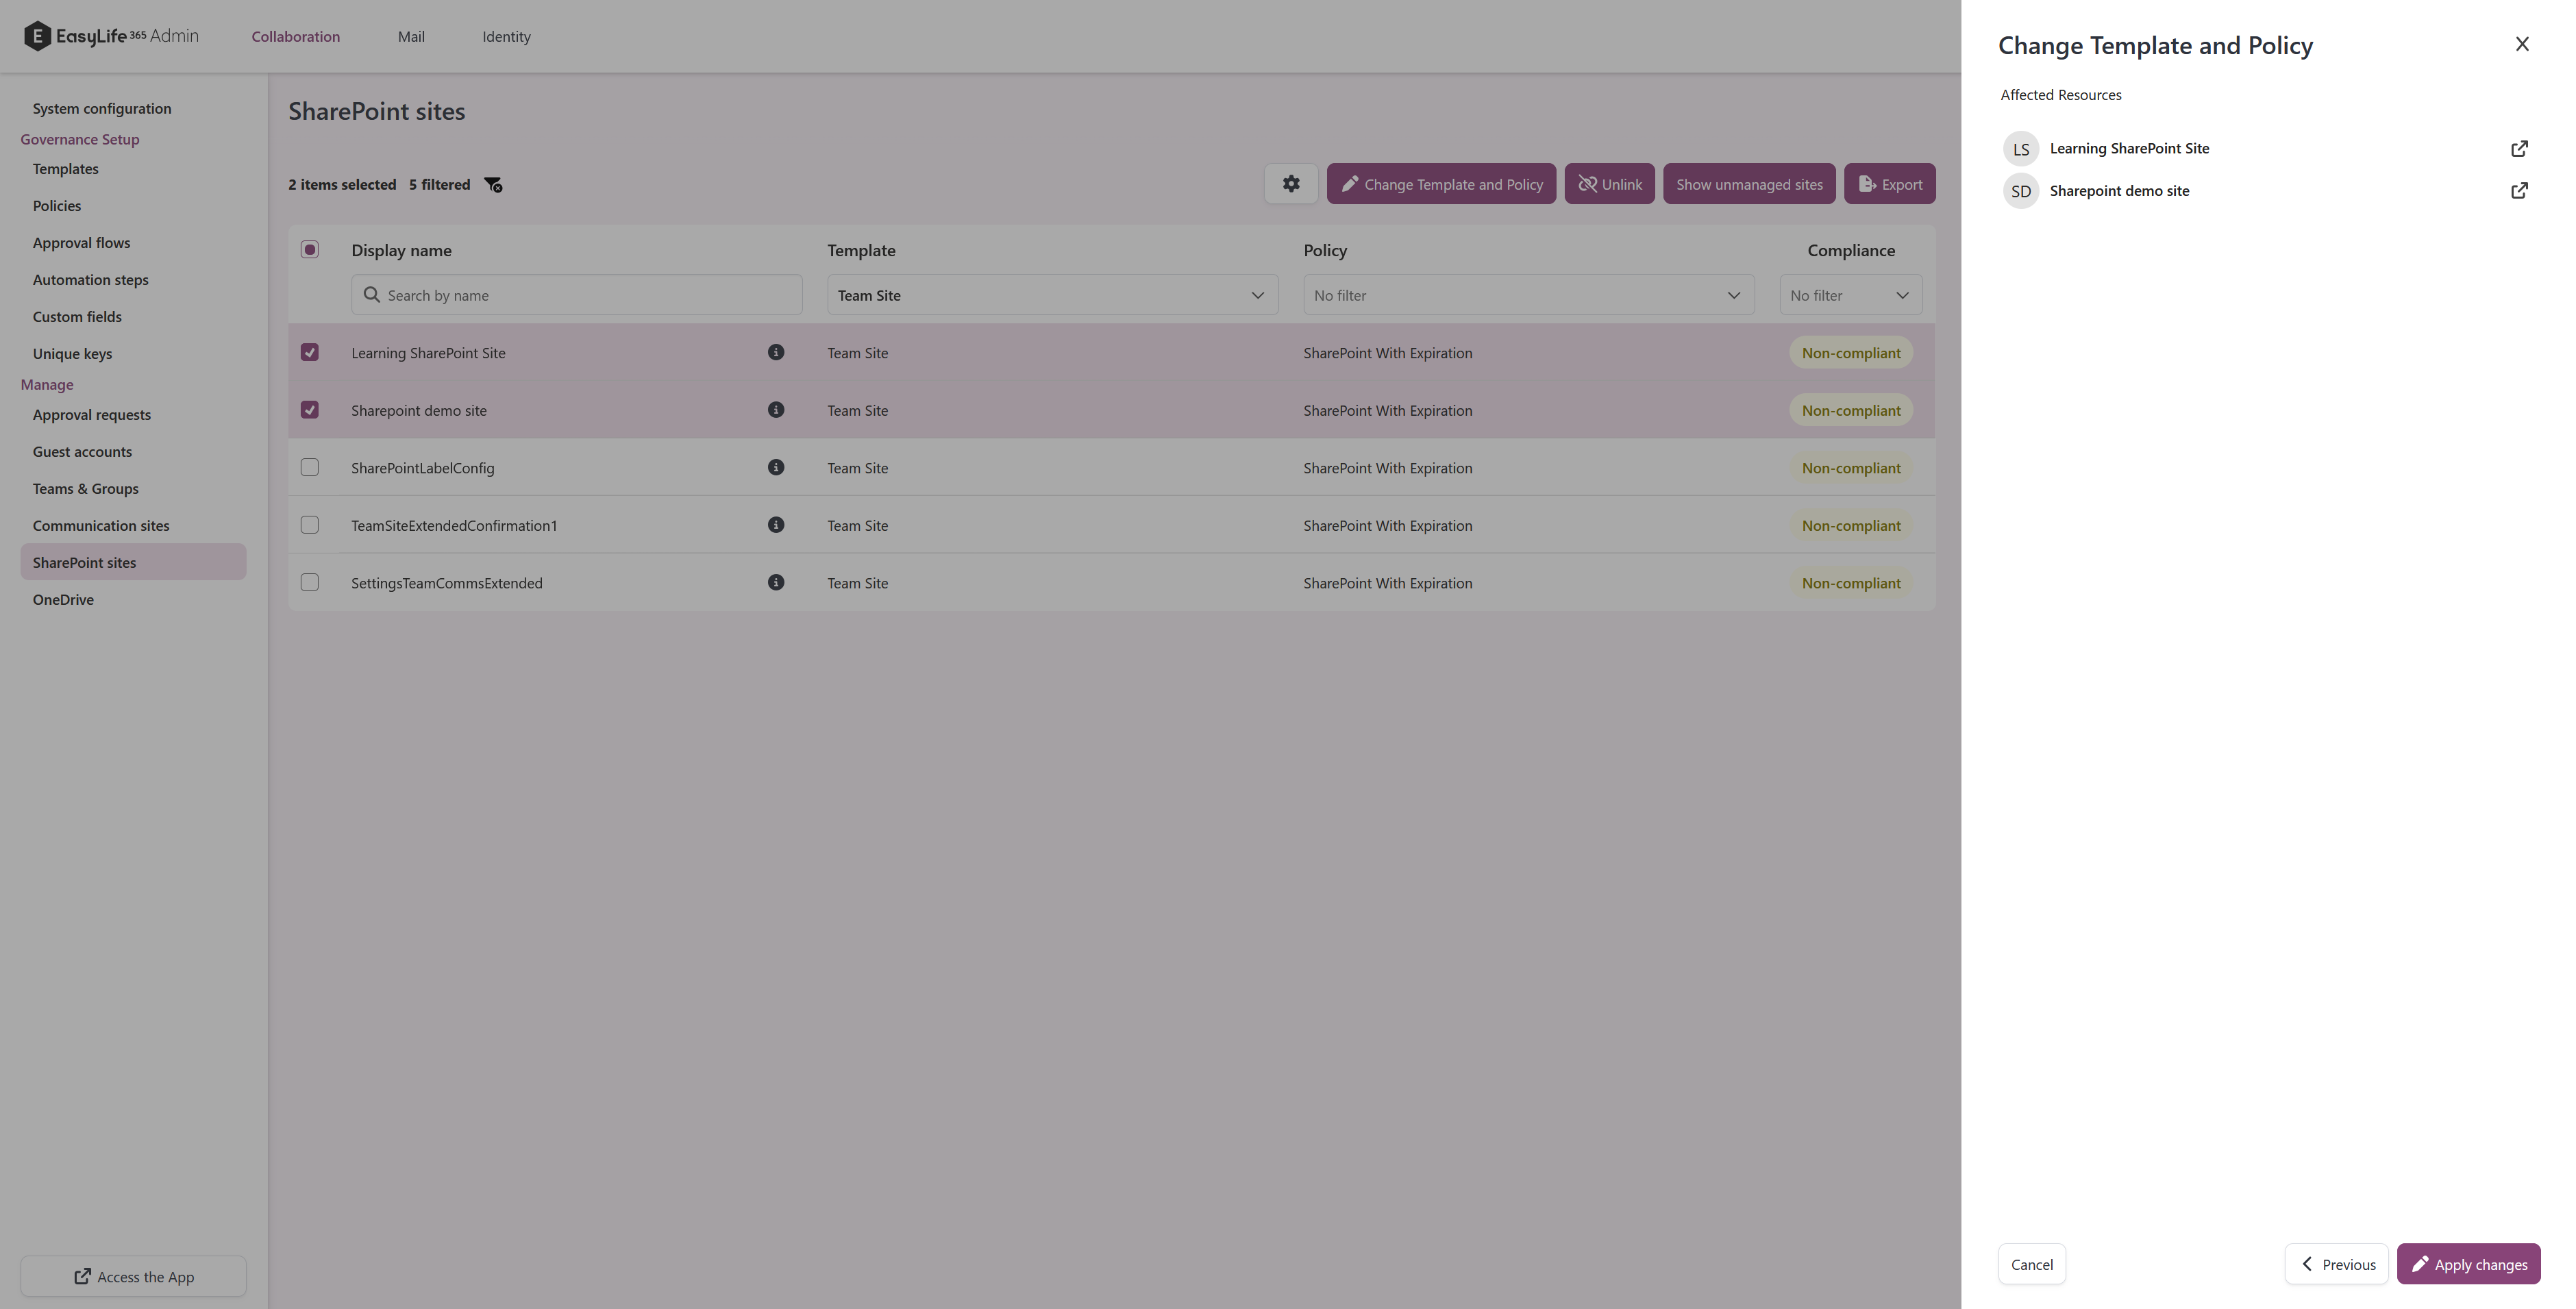
This allows you to edit resources not initially created through EasyLife and enforce life cycle management policies on pre-existing resources.
Impact of Policy Changes
Changing the policy assigned to a resource triggers a compliance evaluation against the new policy from the time of assignment. For example, if a user created a Team outside of EasyLife 365 with only one owner and you assign a policy requiring a minimum of two owners, it will be marked as not compliant in the Policy and compliance status column. The existing owner will be notified to add at least one additional owner.
Impact of Template Changes
Changing the template assigned to a resource only affects its associated metadata. Altering the policy assigned to a template will not automatically update the metadata of existing sites.